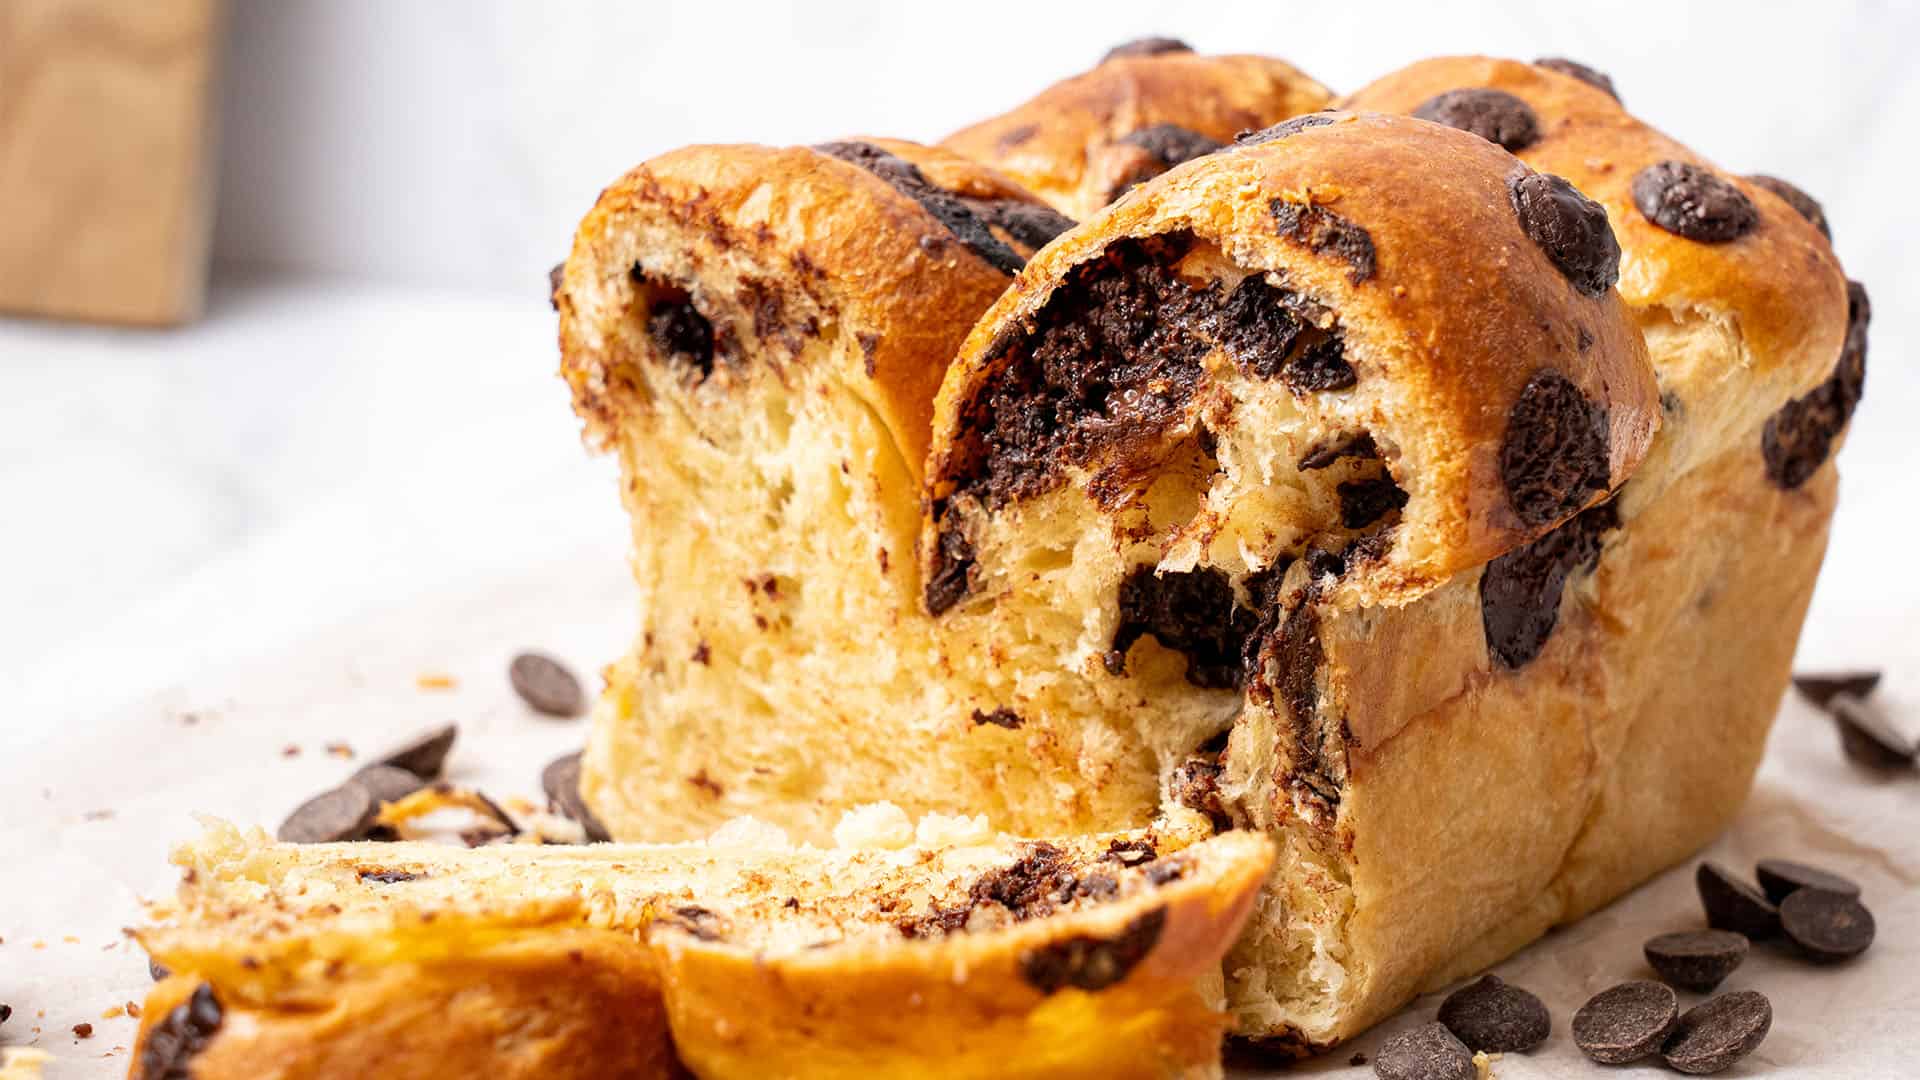
Viral Homemade Chocolate Chip Brioche Recipe You Don´t Want To Miss
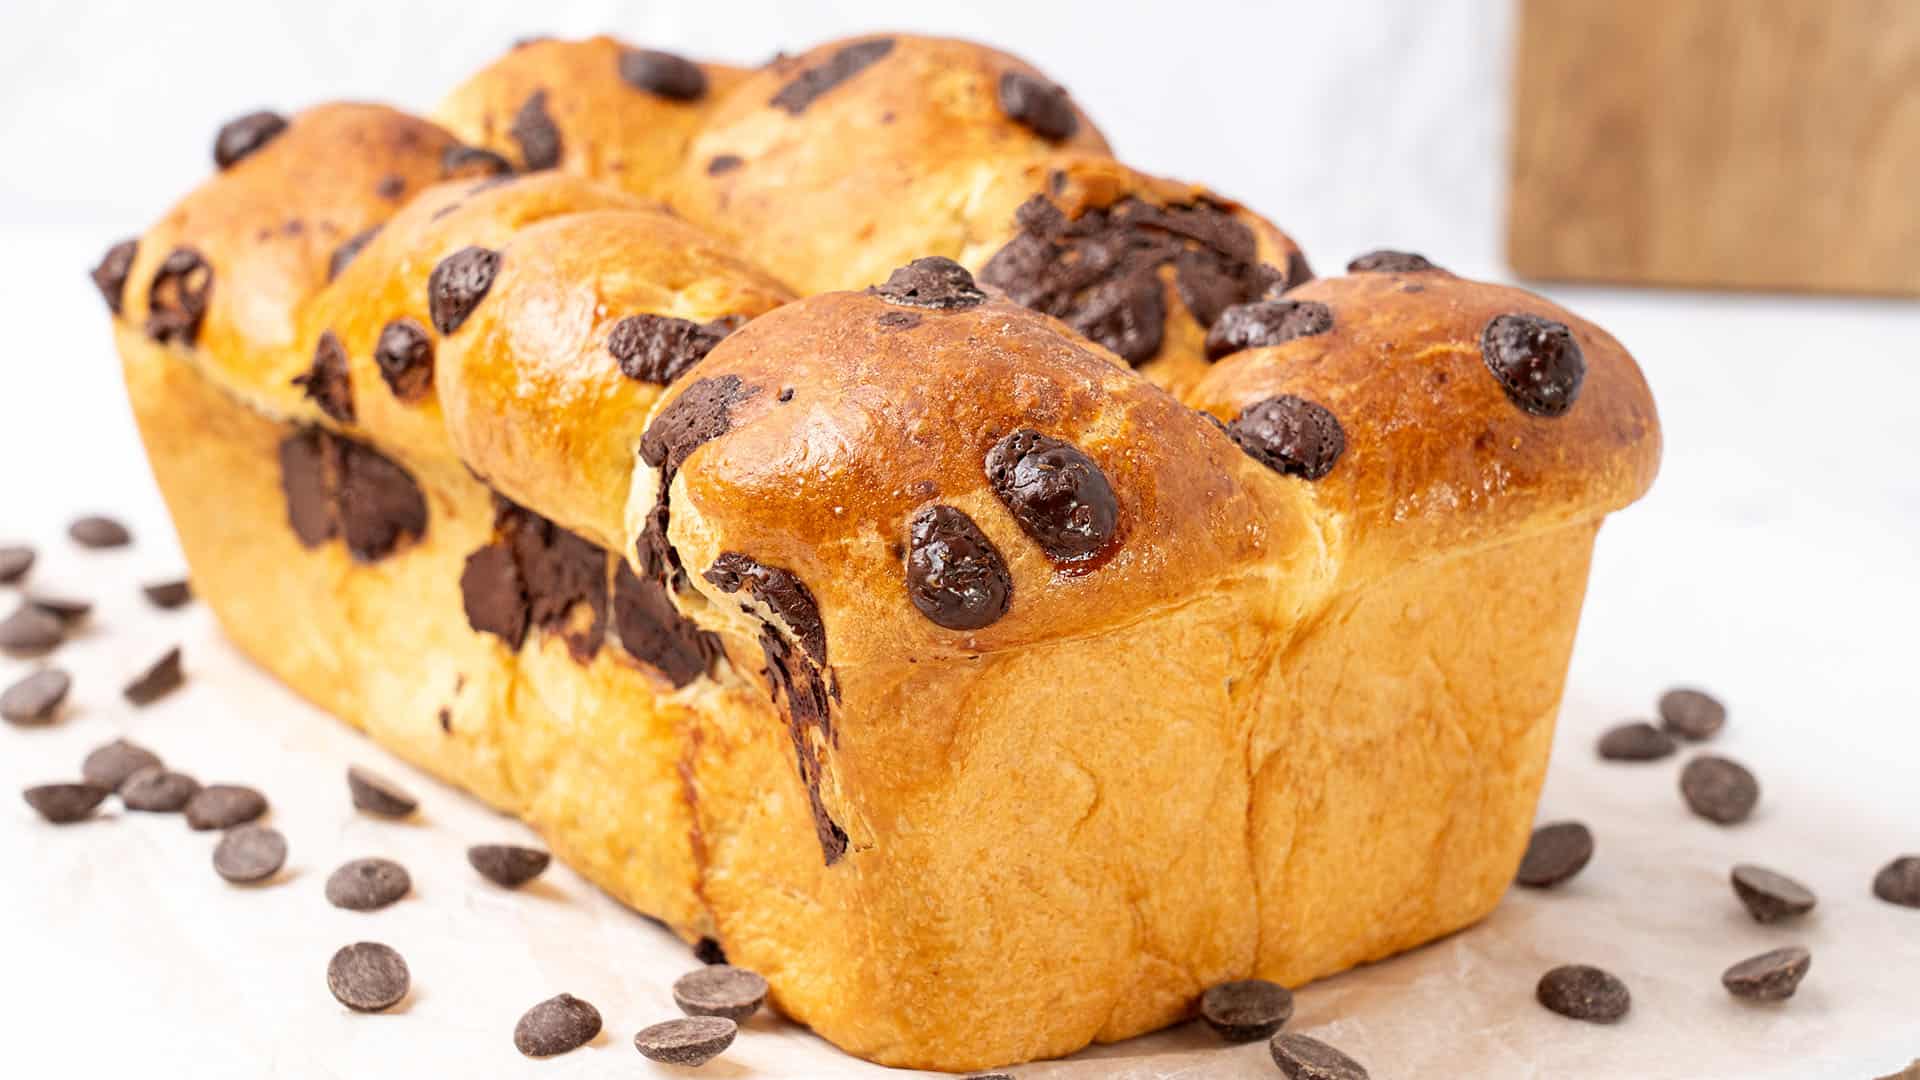
If you’re a fan of soft, fluffy, and slightly sweet bread with a touch of indulgence, then this Viral Homemade Chocolate Chip Brioche is about to become your new favorite treat. Perfectly golden on the outside and decadently tender on the inside, this brioche is studded with rich chocolate chips that melt in your mouth with every bite. Whether you’re an experienced baker or just starting out, this recipe is simple to follow and guarantees bakery-quality results right from your kitchen.
Why this is the best recipe
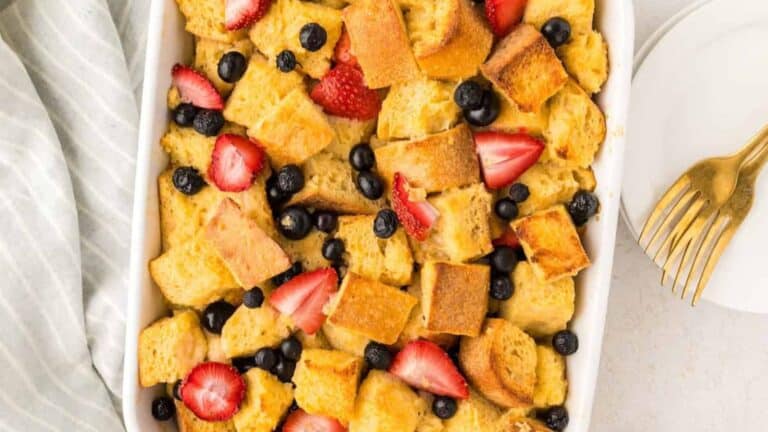
- It is versatile – You can customize your chocolate chip brioche bread with different add-ins, toppings, make them into smaller chocolate chip brioche rolls, or even use the dough to make chocolate chip brioche french toast!
- No fancy ingredients or equipment required – This brioche chocolate chip recipe uses eight simple pantry items you likely have at home. You also don’t need any unique equipment!
- It is an easy yet detailed guide – It doesn’t walk you through how to make the brioche, but it also goes into the science behind the baking to achieve perfect, bakery-style results.
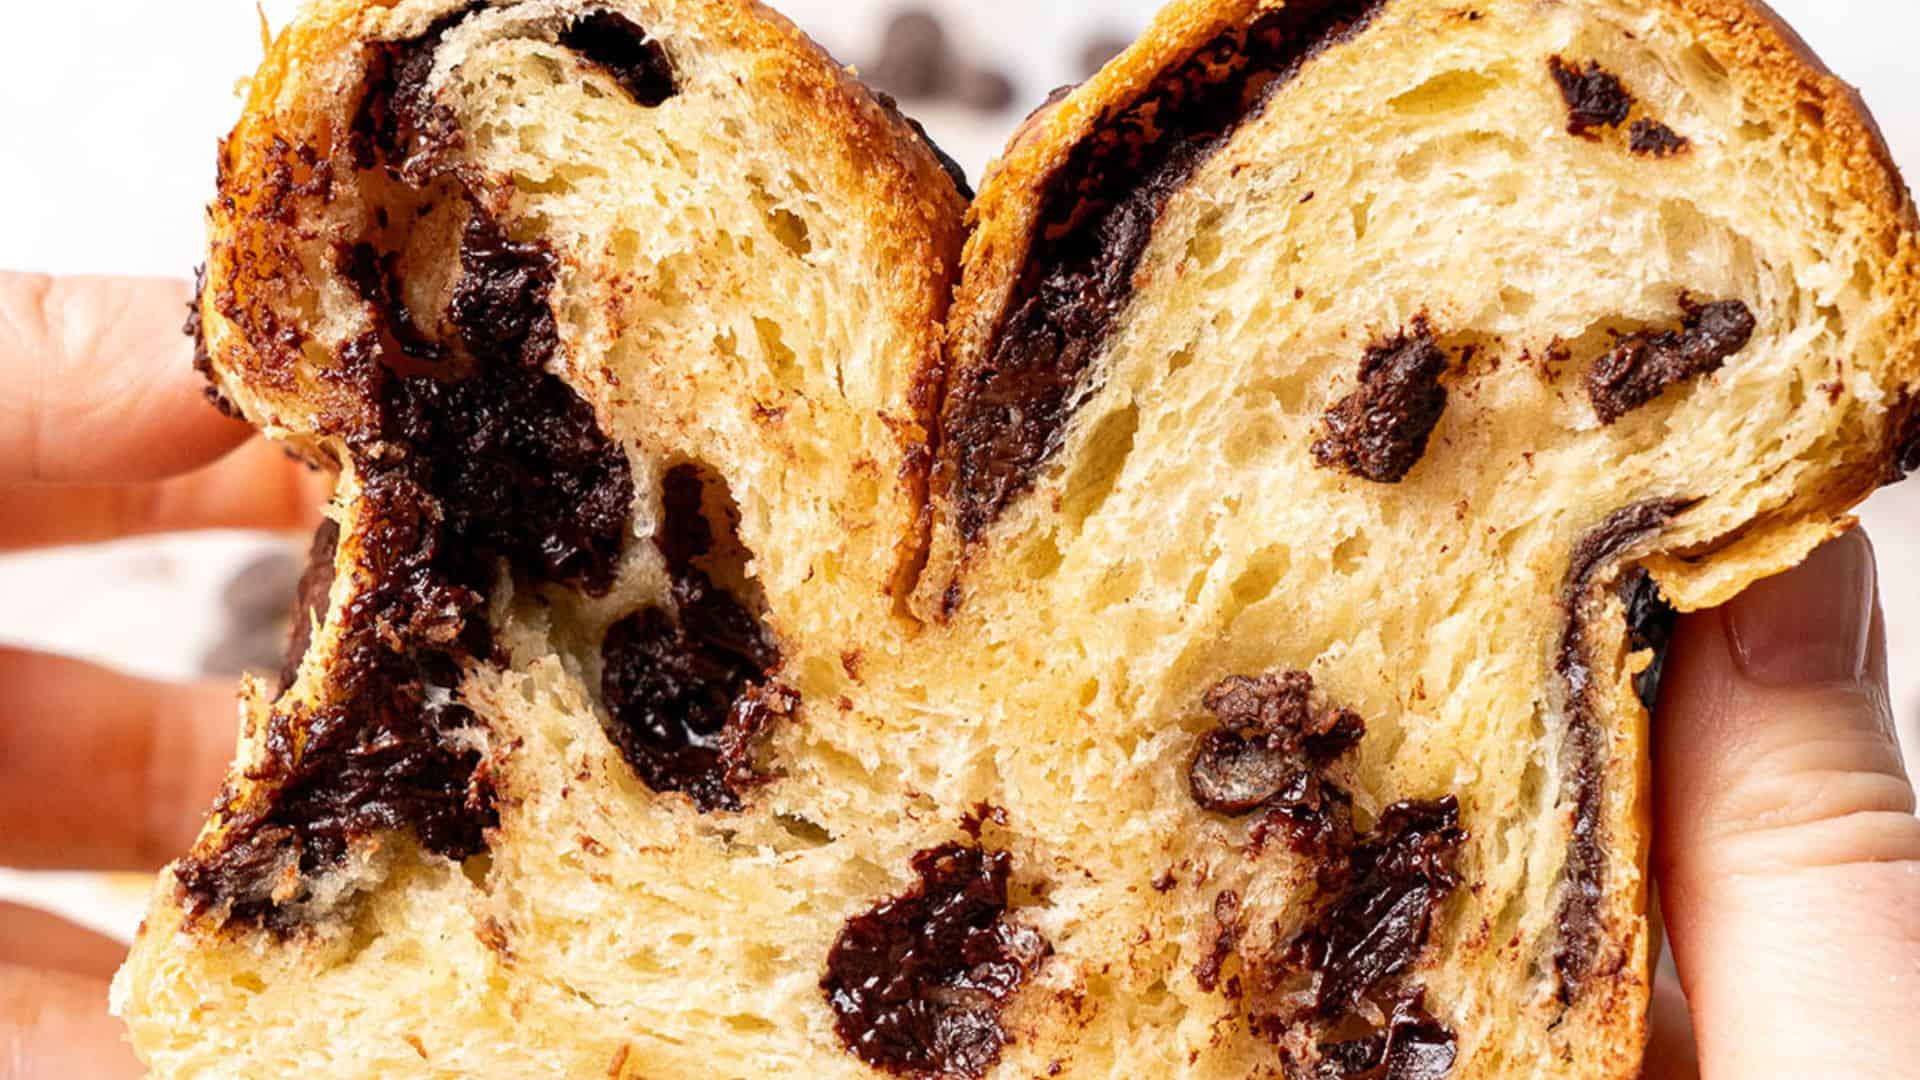
- It is the best tasting – My brioche chocolate chip bread uses the best quality ingredients and baking techniques to create the most tender, fluffy, and flavorful results.
Ingredients
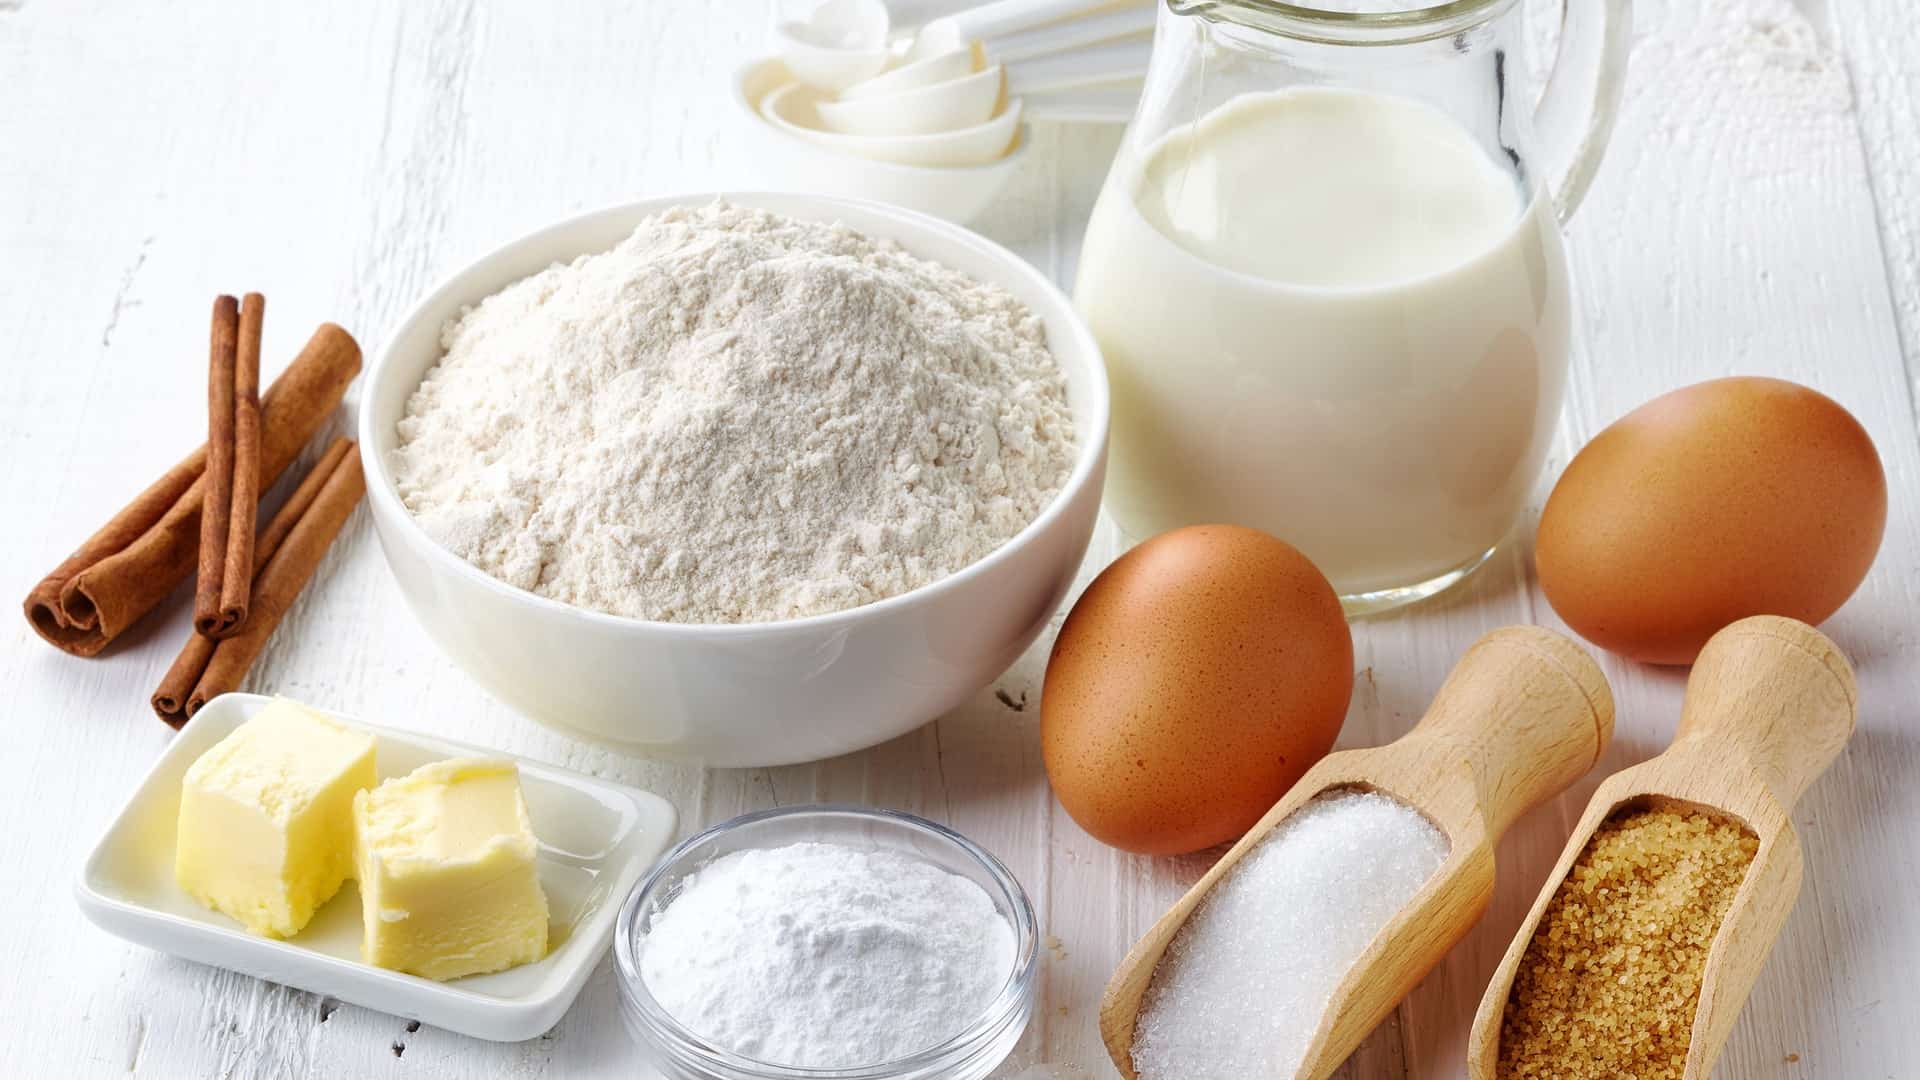
2/3 cup Whole milk, lukewarm
1/3 cup Granulated sugar
2 1/4 teaspoons Fresh yeast (equivalent to 7g or 2 1/4 teaspoons active dry yeast)
2 Eggs, at room temperature
3 cups Bread flour (use high protein content flour)
1/2 teaspoon Salt
3/4 cup Unsalted butter, at room temperature
1 cup Chocolate chips (use semi-sweet chocolate chips)
1 egg with a splash of water or milk for the egg wash
Small amount of melted butter for the glaze
How to make the dough
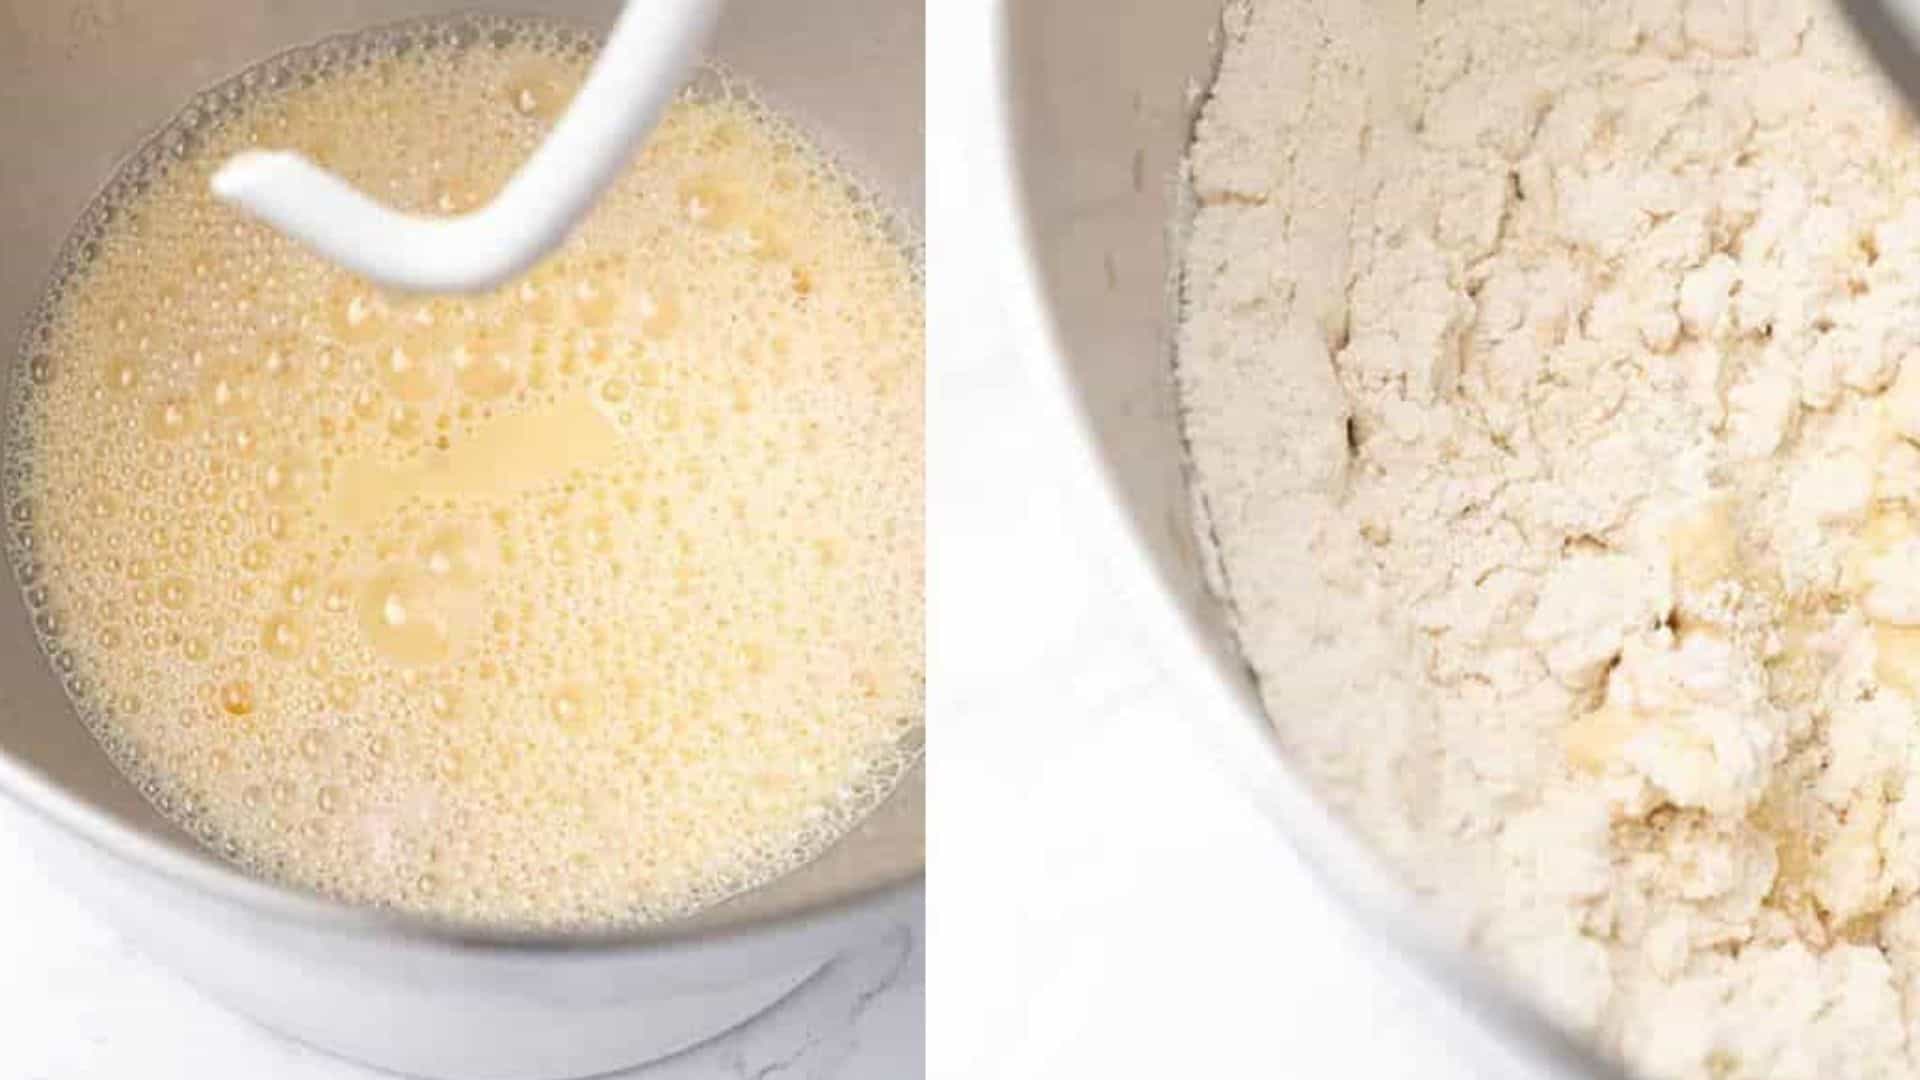
- Heat half of the sugar with the milk until lukewarm. Remove the milk and sugar mixture from the heat and sprinkle the yeast on top. Let it sit for approximately 10 minutes, and the yeast should start to foam.
- Move the yeast mixture into the stand mixer with the kneading hook attached. Then, mix it with two eggs.
- Next, add the bread flour, remaining sugar, and a pinch of salt. Continue kneading the dough until all ingredients are thoroughly combined (approximately three minutes).
- While the mixer is on, slowly add the softened butter piece by piece. Then, knead the dough for 10 minutes on medium-high speed until it becomes elastic and shiny. Stop kneading when you reach this point!
- Move the dough into a bowl and cover it with plastic wrap. Then, let it sit at room temperature and rise for 1-2 hours or until the size of the dough has doubled.
- Once risen, punch the air out of the dough, reshape it, put it back into a bowl, and place it in the refrigerator for the second rise. Let it remain in the fridge overnight or for at least eight hours.
Top Tip: If the yeast does not foam, the dough likely will not rise, and you will need to start again. It is vital to ensure the milk is only lukewarm and not hot, as hot milk will kill the yeast.
How to bake French brioche bread

- The next day, divide the dough into eight equal pieces. Likewise, divide the chocolate chips into nine equal portions.
- Using your fingers, gently flatten each piece of dough and arrange the chocolate chip portions onto each. Next, roll the dough into balls.
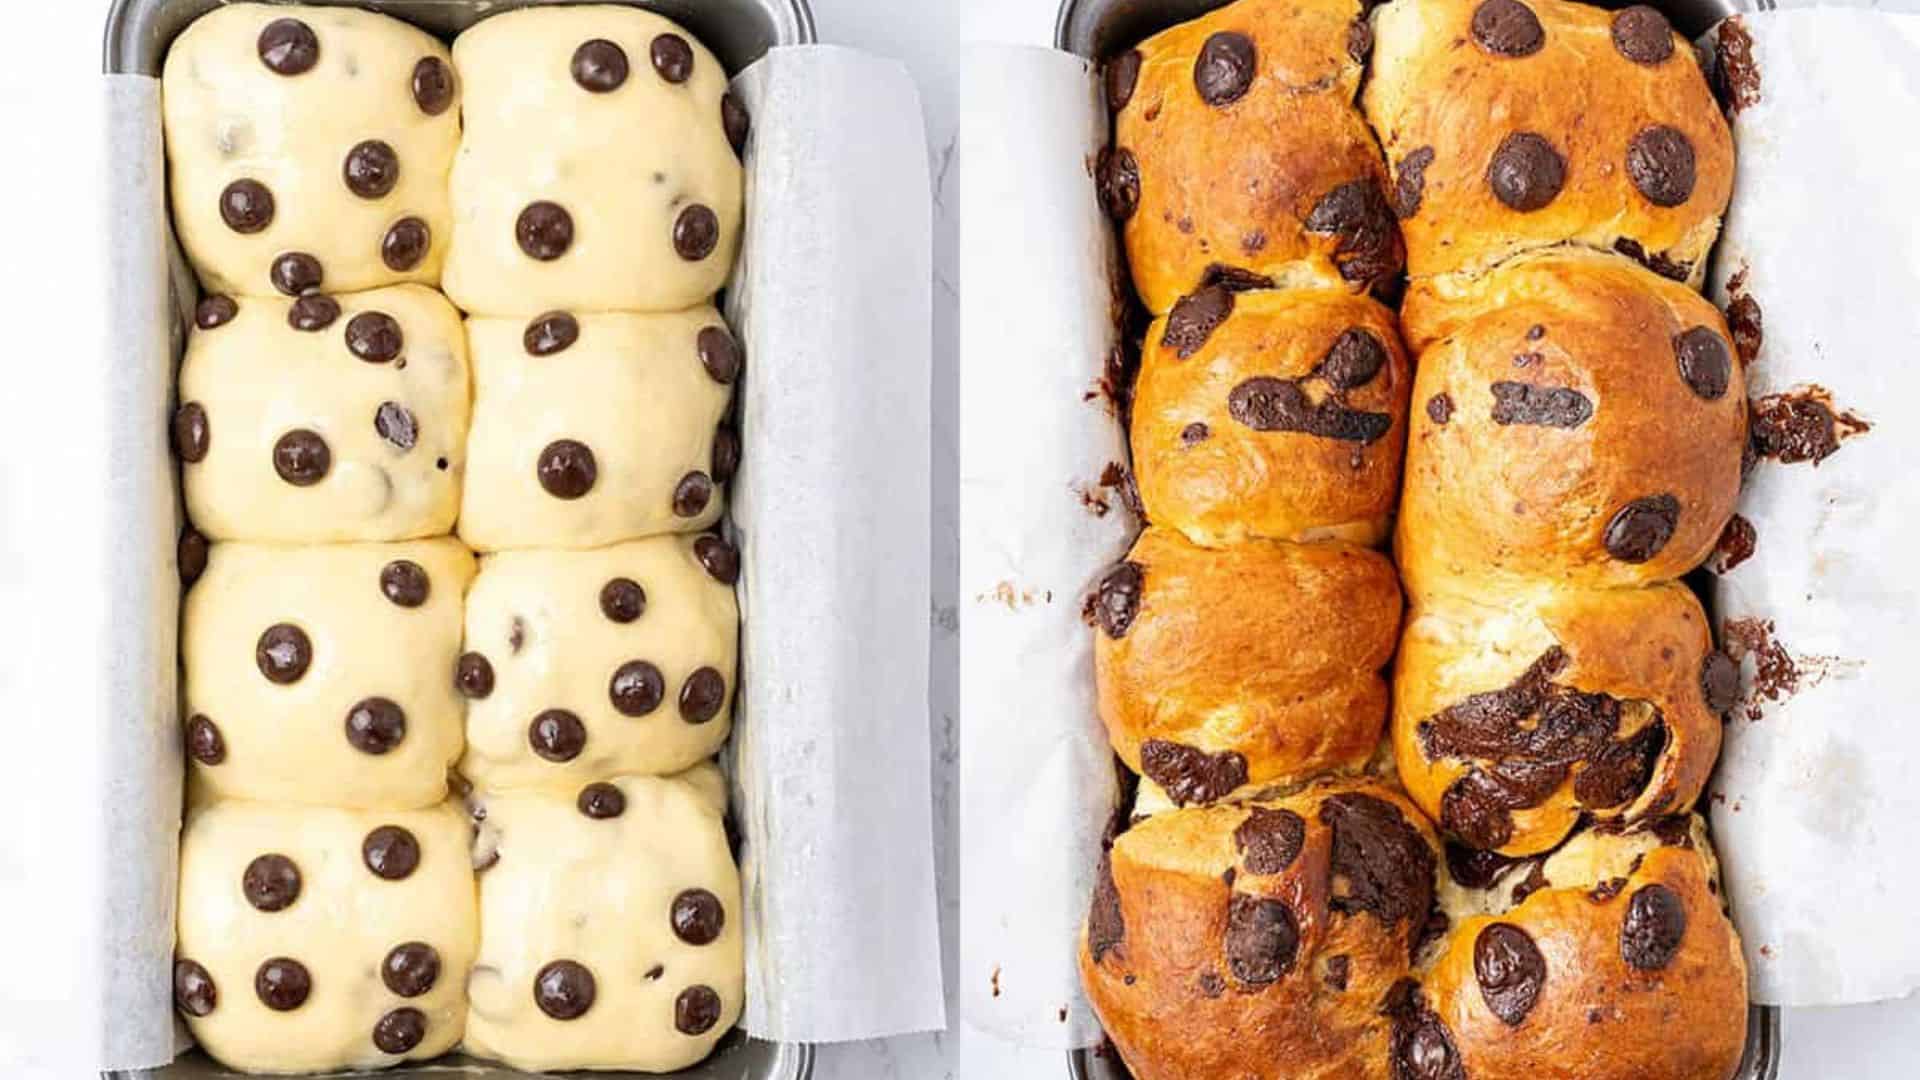
- Lightly grease a large 11×6 inch / 28×15 cm loaf tin pan. Then, arrange the dough balls in the tin 2x2x2x2. Gently press the remaining chocolate chips into the top.
- Next, mix one egg with a splash of milk or water to make an egg wash. Brush the egg wash over the surface of the dough, then let the chocolate chip brioche bread proof for 1-2 hours. During this process, the dough should double in size and fill the tin.
- Toward the end of the proofing, preheat the oven to 180C / 356F.
- Bake for approximately 45 minutes until golden brown.
- Once baked, brush a small amount of melted butter on top. Let it cool for a few minutes, then move it to a wire cooling rack.
Top Tip: Consider using a nonstick silicone baking mat to roll out the dough balls. The silicone mat keeps the dough from sticking, so you don’t have to worry about using dusting flour!
Storage & freezing
Store your baked chocolate chip brioche bread in an airtight container at room temperature for 2-3 days.
To freeze, wait until the brioche has cooled to room temperature. Then, double-wrap the chocolate chip brioche bread, first in plastic wrap and then in aluminum foil (this will help prevent freezer burn). Freeze for up to one month.
Flavor variations and substitutions

With different flavors – Add grated orange or lemon zest to the dough for a touch of zesty and citrus flavor. You can also add a touch of vanilla extract to give your bread a delicious vanilla flavor.
With other add-ins – Stir in raspberry or strawberry puree for a chocolatey-fruit flavor combination that will make your taste buds dance. Or, to add some crunch and a nutty flavor to your bread, you can add chopped nuts as I do in my walnut babka recipe.
Expert Tips
- This recipe takes several hours to make, so it is a good idea to consider the fermentation time before beginning the recipe.
- You can test whether the dough has been sufficiently proofed by pressing it gently with your finger. If there is an indent or only halfway bounces back, it is good to go. If it bounces straight back, it needs more time to proof. If it deflates completely, it has been over-proofed.
- The three proofings are essential for the perfect taste and texture. The warmer the proofing environment, the quicker it will rise. In case of an emergency, you might skip the overnight proofing and go ahead with only the first and last proofing. However, I recommend planning ahead.
- During baking, check the brioche after about 20 minutes to see how it is progressing. Cover it with aluminum foil if it is browning too quickly.